Gaussian splatting is a novel technique for scene representation and 3D rendering. It uses a large number of "splats", tiny 3D Gaussian primitives, to create photorealistic views of real-world scenes.
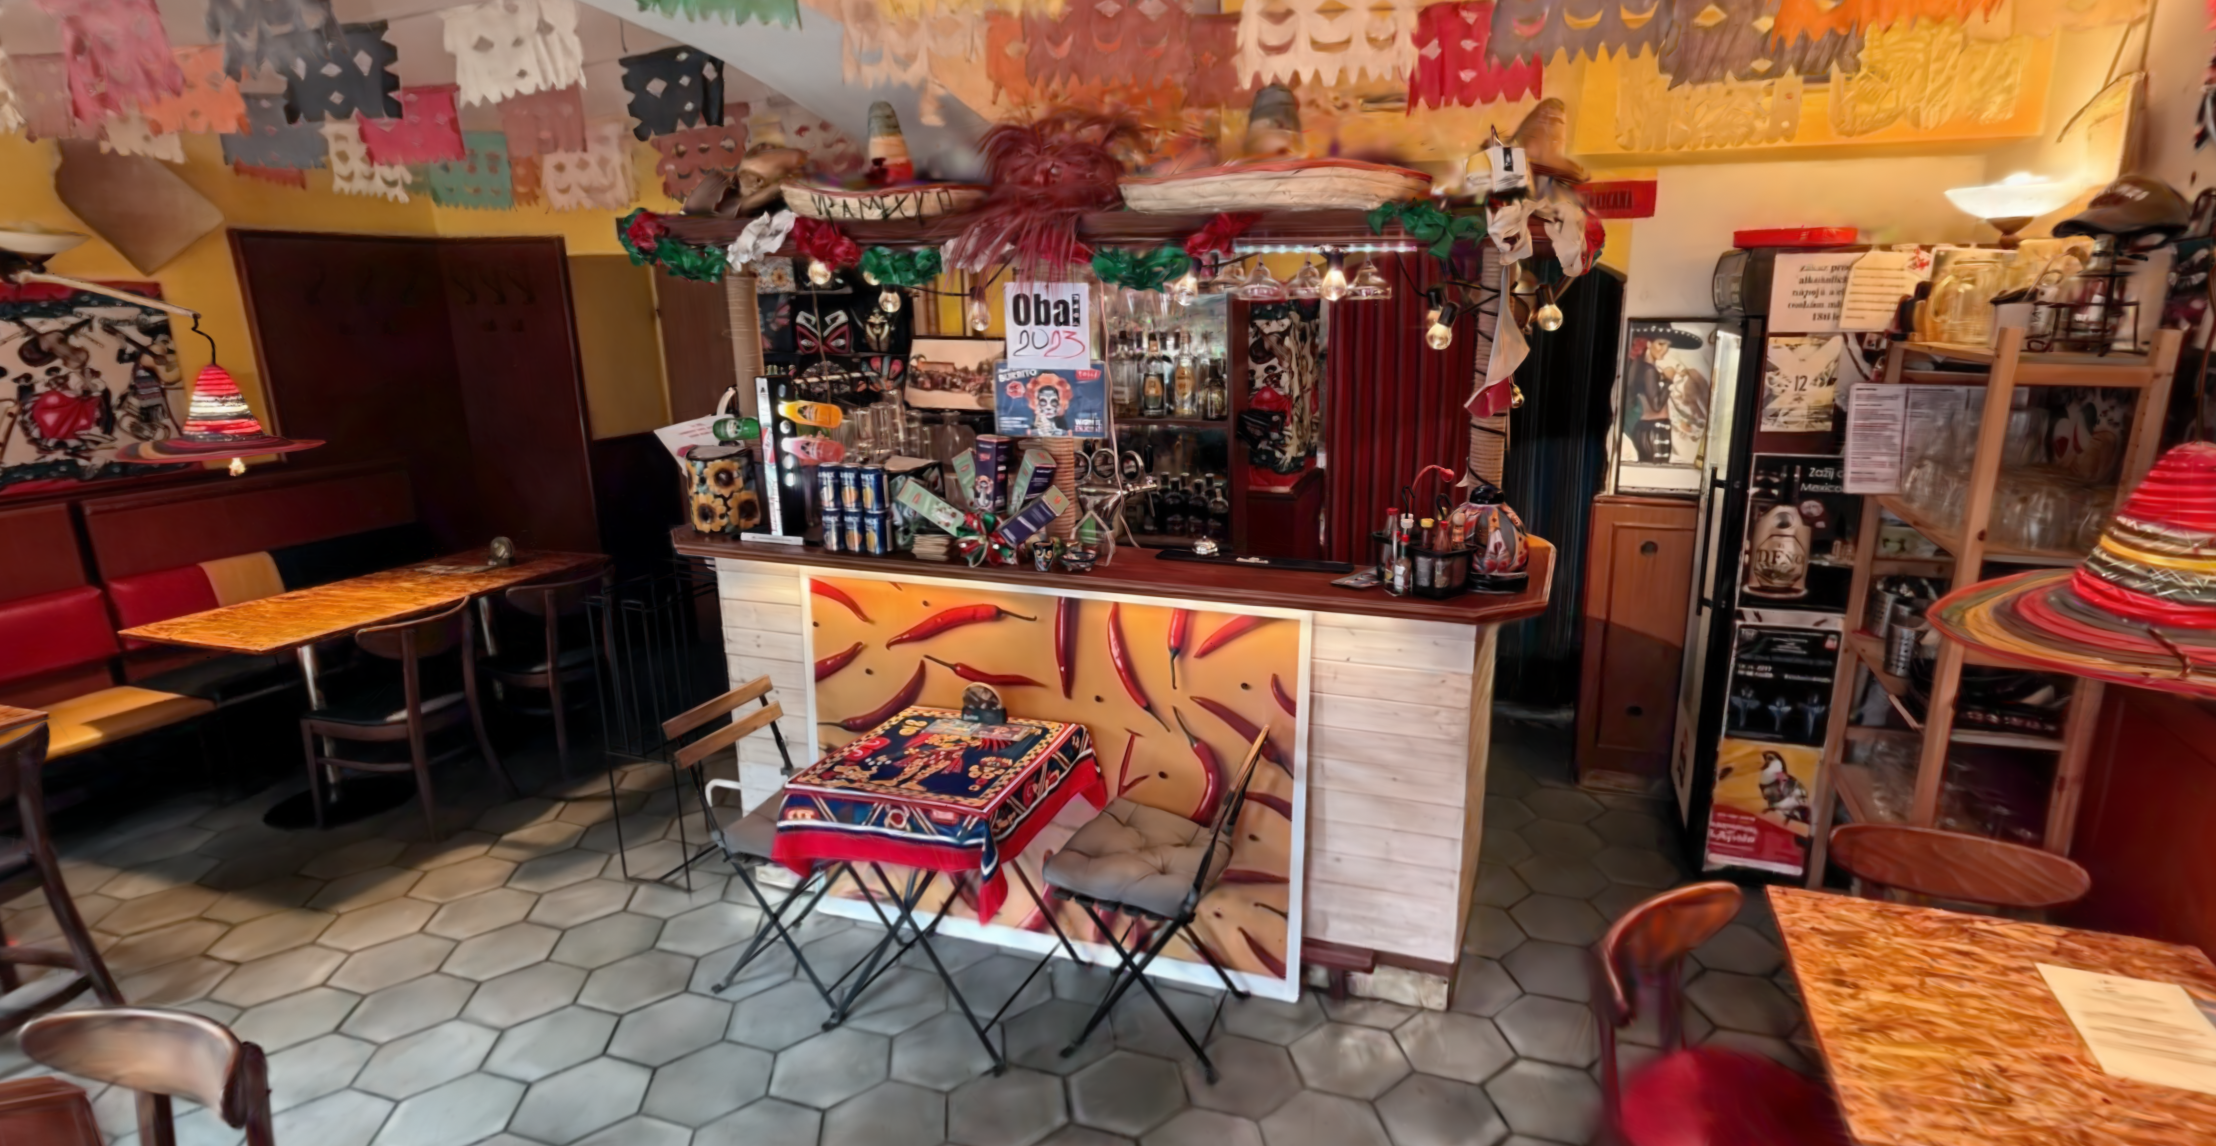
Visualizing tiled Gaussian splatting data
LuciadRIA supports the visualization of Gaussian splatting data through its OGC 3D Tiles capabilities.
See the OGC3DTilesModel API documentation for the supported formats.
Visualizing Gaussian splatting data on a map requires two steps:
-
Create an
OGC3DTilesModelby connecting to the data source. -
Use a
TileSet3DLayer, optionally with agaussianSplatsStyle, to visualize the model.
// Create a model for an OGC 3D Tiles dataset with Gaussian splatting data
const url = "https://example.com/ogc/3dtiles/gaussiansplats/tileset.json";
const model = await OGC3DTilesModel.create(url);

// Create a layer for the model and configure the Gaussian splats style
const layer = new TileSet3DLayer(model, {
  gaussianSplatsStyle: {
    enableDepth: true
  }
});

// Add the layer to the map
map.layerTree.addChild(layer);
Visualizing individual SPZ or PLY files
It’s also possible to load individual SPZ or PLY files if they’re wrapped in a single-tile tileset.
In your code, you do this by creating an in-memory tileset.json:
function createInMemoryTileset(url: string, size: number) {
  const tileSetJson = {
    "asset": { "version": "1.1" },
    "geometricError": 1,
    "root": {
      "boundingVolume": {
        "box": [
          0.0, 0.0, 0.0,
          size, 0.0, 0.0,
          0.0, size, 0.0,
          0.0, 0.0, size
        ]
      },
      "refine": "REPLACE",
      "geometricError": 1,
      "content": { "uri": url }
    }
  };
  return "data:text/plain;base64," + btoa(JSON.stringify(tileSetJson));
}

// Wrap a PLY or SPZ in an in-memory tileset.json
const url = "https://example.com/path/to/splats.ply";
const tileset = createInMemoryTileset(url, 50.0);
const model = await OGC3DTilesModel.create(tileset);|
Individual SPZ and PLY files are not tiled. This means that there is a limit on how large or detailed the dataset can be to fit into memory and remain responsive. For the best experience and quality, it’s recommended to use tiled datasets with multiple levels of detail. |
Tuning visual quality and performance
GaussianSplatsStyle offers settings to control the trade-off between visual quality and rendering performance.
For example, you can enable higher-precision rendering, control how splats interact with depth and occlusion,
or reduce the rendering resolution to improve frame rates on low-end devices. See the GaussianSplatsStyle API
documentation for a full overview of the available options.
layer.gaussianSplatsStyle = {
  // Enable higher-precision color rendering for improved visual quality.
  highPrecisionColors: true,
  // Enable depth so that other layers are correctly occluded by the splats.
  // It also makes measurements on the splats possible, and allows for more precise navigation.
  enableDepth: true,
  // Increase the opacity cutoff to improve performance by making the splat edges harsher.
  opacityCutoff: 0.05,
  // Scale down the internal rendering resolution to improve performance.
  resolutionScale: 0.75
};

// Note: these are just example values. Read the sections below on what the optimal settings are for you.
Most likely, systems with high-end hardware can run heavy datasets at the highest quality settings. That means that you can:
-
Enable the
highPrecisionColorssetting for less noise in the image. -
Keep all other performance-related toggles set to the default.
If you run into performance issues on mid-range to low-end hardware, experiment with these settings in this order:
-
Disable
enableDepthif you don’t need it: generating depth for Gaussian splats can be quite intensive. Disabling it likely results in a big boost in frame rates, though it affects controllers that rely on depth for navigation and measurements. -
Disable
highPrecisionColors: disabling high-precision colors may introduce subtle noise to the image, but it can be a worthwhile trade-off to increase performance. -
Lower the
resolutionScale: because of the soft and blurry nature of Gaussian splats, lowering the internal resolution at which they’re rendered doesn’t necessarily mean that the image becomes noticeably softer. With a resolution scale of 0.7, the GPU workload is significantly reduced, and yet in many instances, the image quality remains largely the same. -
Increase the
opacityCutoffby a few percent: typically, a value of 0.01 or 0.02 is barely noticeable visually, but still results in a significant frame rate boost. With a value of 0.05 to 0.1, the frame rate substantially improves, but the image quality starts to suffer, and gaps between the splats become visible.
It’s also possible to dynamically change the styling based on the context. For example, in stationary scenarios, you could tune the settings towards the highest possible image quality. In more interactive scenarios, you may choose to reduce the quality to ensure navigation and camera movements remain smooth.
Adjusting Gaussian splatting detail and amount of data loaded
LuciadRIA uses the scale information present in the source data to determine what tiles and level-of-detail to load at any given moment.
Sometimes the scale information in datasets isn’t well-configured though, making it difficult to choose the right level.
You can adjust the amount of detail loaded using the qualityFactor settings on TileSet3DLayer.
The default is 1.0. Increasing the value results in the loading of more data and detail. Decreasing the value reduces the amount of data.
These are our recommendations for use of the quality factor:
-
If you see low detail, or visible switches in level-of-detail when you are navigating, increase the
qualityFactor. -
If you experience bad performance, or even browser crashes due to memory overload, decrease the
qualityFactor.
It’s also possible to limit the number of splats loaded on the map, through the maxSplatCount setting.
// Only load a quarter of the detail
layer.qualityFactor = 0.25;

// Load at most 2.5 million splats
map.performanceHints.maxSplatCount = 2_500_000;
Recommended settings
To give an idea of what typical values are for common use cases, we recommend the following quality and performance profiles.
| Quality level | Quality factor | Splat count limit | Resolution scale | Opacity cutoff | High precision colors | Usage |
|---|---|---|---|---|---|---|
|
Low |
0.5 |
1M |
0.5 |
0.06 |
False |
Mobile devices |
|
Medium |
0.75 |
2M |
0.7 |
0.04 |
False |
High-end phones and tablets, low-end laptops |
|
High |
1.0 |
4M |
1.0 |
0.02 |
False |
Mid-range laptops with discrete GPUs |
|
Ultra |
1.0 |
6M |
1.0 |
0.00 |
True |
Laptops with gaming hardware |
map.performanceHints.maxSplatCount = 2_000_000;
layer.qualityFactor = 0.75;
layer.gaussianSplatsStyle = {
  opacityCutoff: 0.04,
  resolutionScale: 0.7,
  highPrecisionColors: false
};
Styling with expressions
GaussianSplatsStyle also supports expression-based styling, using the ExpressionFactory module.
Expressions let you dynamically control properties like splat color, size, visibility, and displacement.
You can use ParameterExpression objects to efficiently update styling at runtime without replacing the full
expression.
// Apply a custom color tint by mixing the original splat colors with a target color
const tintColor = color("rgba(0, 128, 255, 1.0)");
const mixFactor = numberParameter(0.3);

// Create a bounding box to define the region where splats should be pushed down.
// This could for example be used to make space for a separate 3D model
// of a building in the middle of the splats.
const box = createOrientedBox(
  getReference("LUCIAD:XYZ"),
  {x: 0, y: 0, z: 0},
  {x: 50, y: 50, z: 20}
);
const boundingBox = orientedBox(box);

layer.gaussianSplatsStyle = {
  // Blend the original colors with a blue tint
  colorExpression: mix(defaultColor(), tintColor, mixFactor),
  // Push down splats within the bounding box
  displacementExpression: pushDown(boundingBox)
};

// Update the tint intensity at runtime without replacing the entire expression
mixFactor.value = 0.6;