|
A high-level knowledge of the Lucy architecture will make it easier to follow the steps described in this guide. |
-
Integrate the LuciadLightspeed installation into your IDE
Since Lucy is built on top of the LuciadLightspeed API, the first step is to integrate the LuciadLightspeed installation into your IDE. This is explained in detail in the Integrate LuciadLightspeed into your IDE article.
-
Avoid modifying the Lucy configuration files in your installation, and use custom configuration files instead
Creating a Lucy-based application requires changes to the add-ons your application uses and to the configuration files.
If you made those changes directly in the configuration files of your LuciadLightspeed installation, you would have to repeat those changes each time you upgrade to a new version. Therefore, it is recommended to isolate those changes in custom configuration files.
The required steps for custom configuration files depend on what you are trying to achieve, and are available in separate articles:
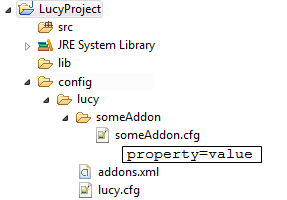
The following picture shows the original organization of directories and configuration files in an IDE project setup with LuciadLightspeed and Lucy.
If you customize the configuration files described in those articles, you end up with the following structure:
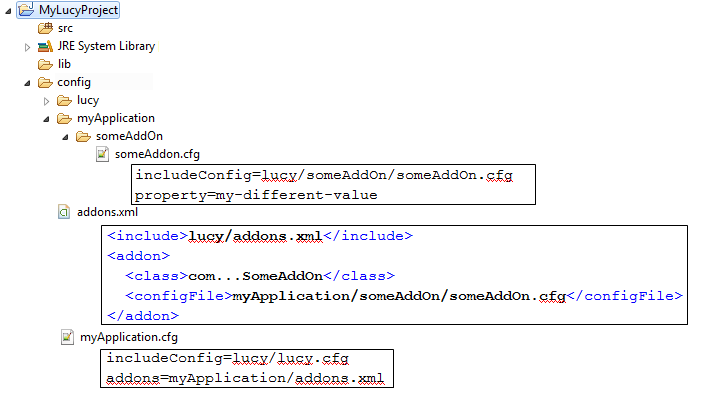
Note how each customization is limited to your own files, leaving the original files in the release untouched. This makes it easy to upgrade to a new version in the future.