Setting up services in LuciadFusion Studio
Preparing your data
Add georeference information
BIM data is typically not georeferenced. If you want LuciadFusion to serve the BIM data as georeferenced data, you need to make sure that georeference information is available for the data.
|
Adding georeference information
Georeference information for BIM data is typically provided in a
|
If you serve the BIM data without georeference information, you will need to add it on the client.
Adding the data
For your options to add the BIM data sources to LuciadFusion, see Adding your data.
Once LuciadFusion Studio has recognized the BIM data, you can find it in the DATA tab of LuciadFusion Studio.
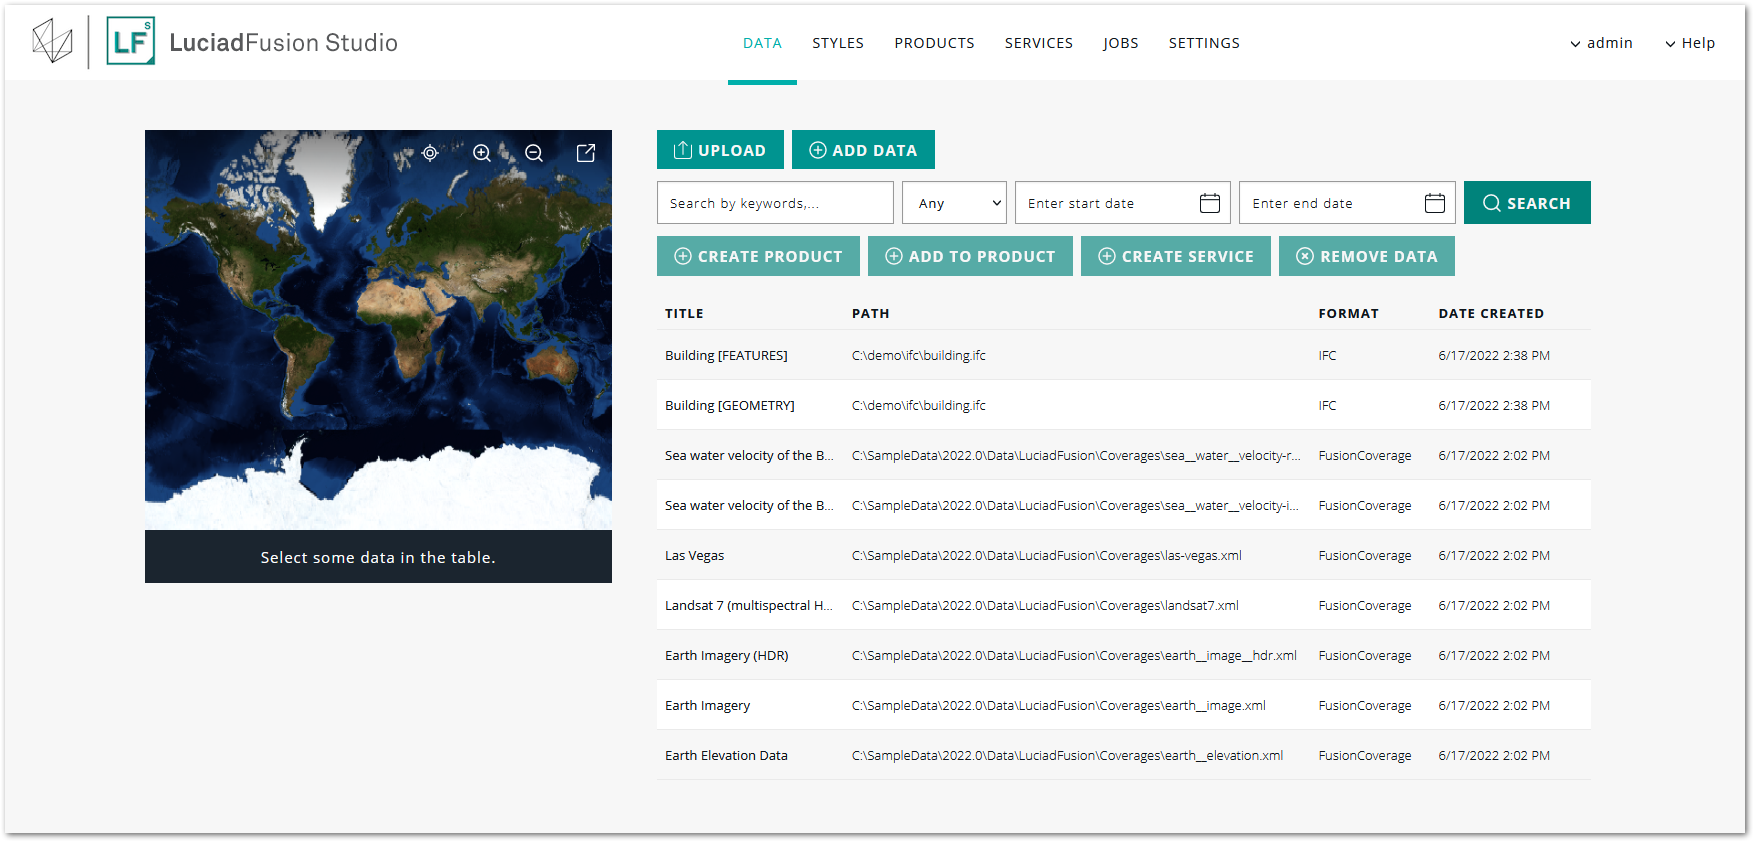
The page lists two DATA entries for each added BIM dataset:
-
An entry for the geometry: this entry has a title ending in "[GEOMETRY]"
Geometry data visible as a red hatched shape in the Studio map previewThe map preview in LuciadFusion only shows a red hatched rectangle at the location of the data set. A client with full 3D visualization capabilities is required to show the BIM data after it has been processed as OGC 3D Tiles.
-
An entry for the feature information: this entry has a title ending in "[FEATURES]"
Setting up services
You serve the two DATA entries for a BIM dataset through two distinct services.
Setting up an OGC3DTILES service
OGC 3D Tiles is the optimal format for the distribution and visualization of big 3D mesh data sets because it tiles and multi-levels the data. The tiling and multi-leveling process makes the data more usable in visualization clients, because the client can select a suitable level-of-detail in the data, and reduce the amount of data that needs to be loaded. Web services can also cache the tiles for fast retrieval.
To create the OGC3DTILES service:
-
Select the
[GEOMETRY]data set on the DATA screen. -
Click CREATE SERVICE.
-
Enter a service title and name in the Create service dialog, and select the OGC3DTILES service type.
-
Leave the Start service? check box selected, and click CREATE SERVICE.
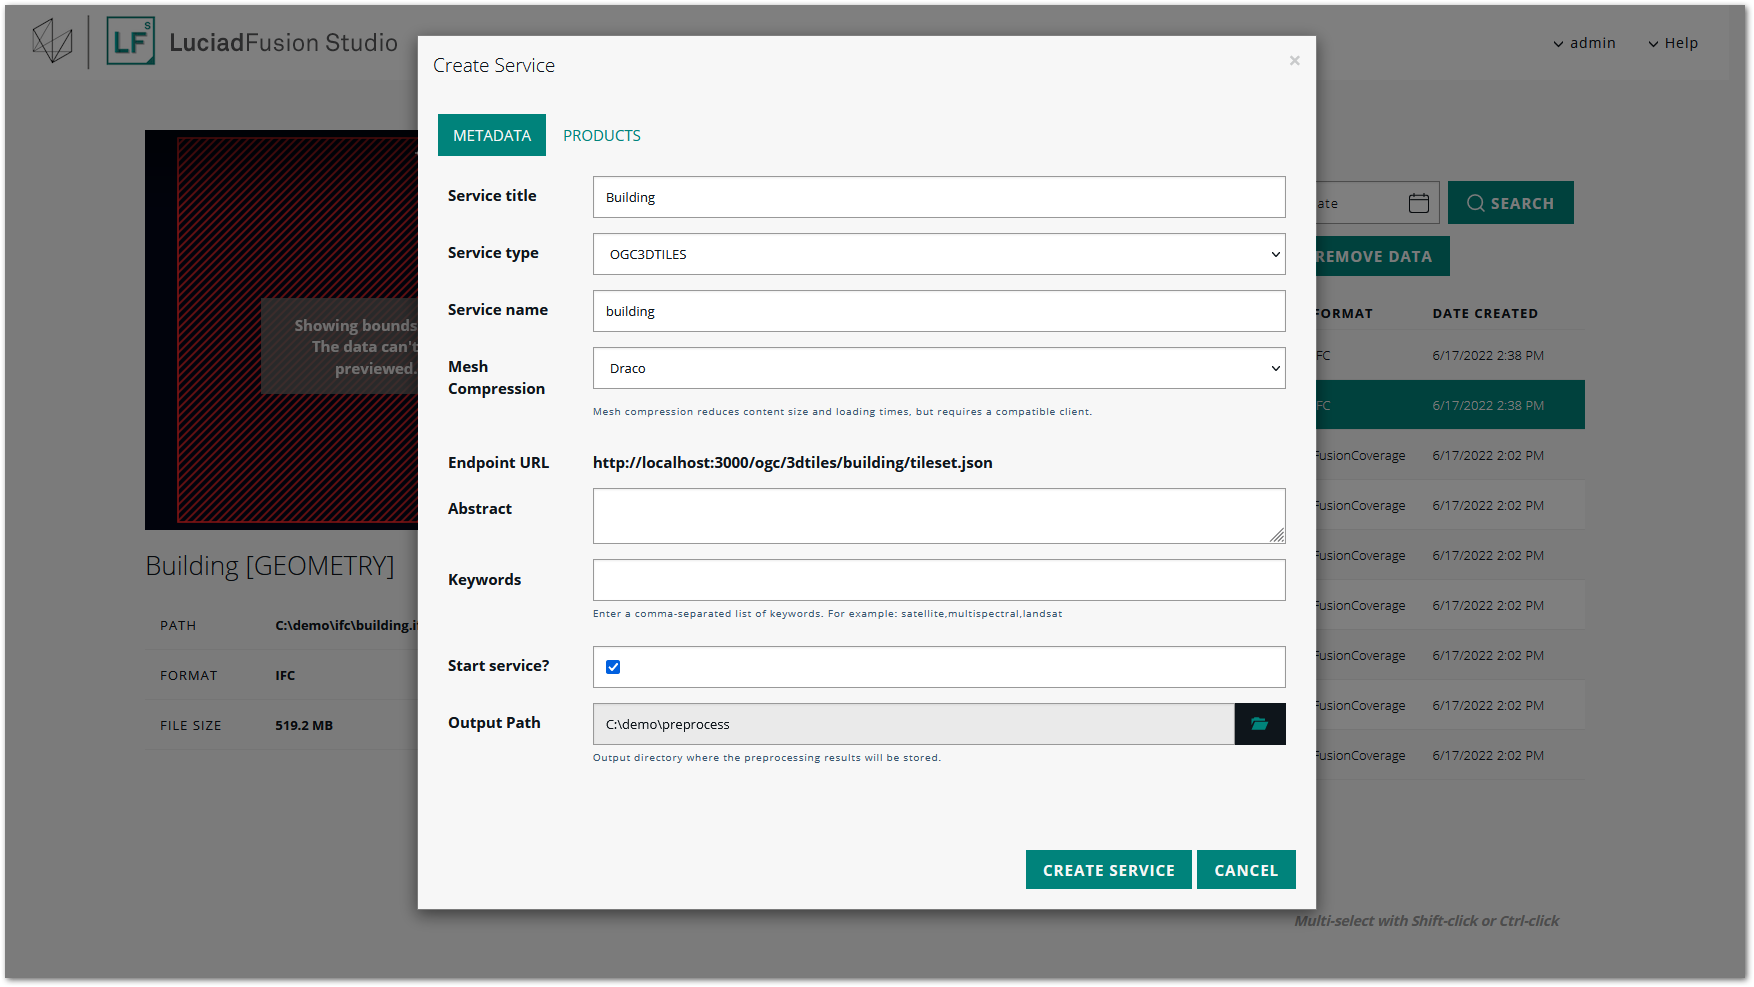
At this point, LuciadFusion Studio starts creating the OGC 3D Tiles data. While it’s taking care of this pre-processing job, your new service will have the PENDING status.
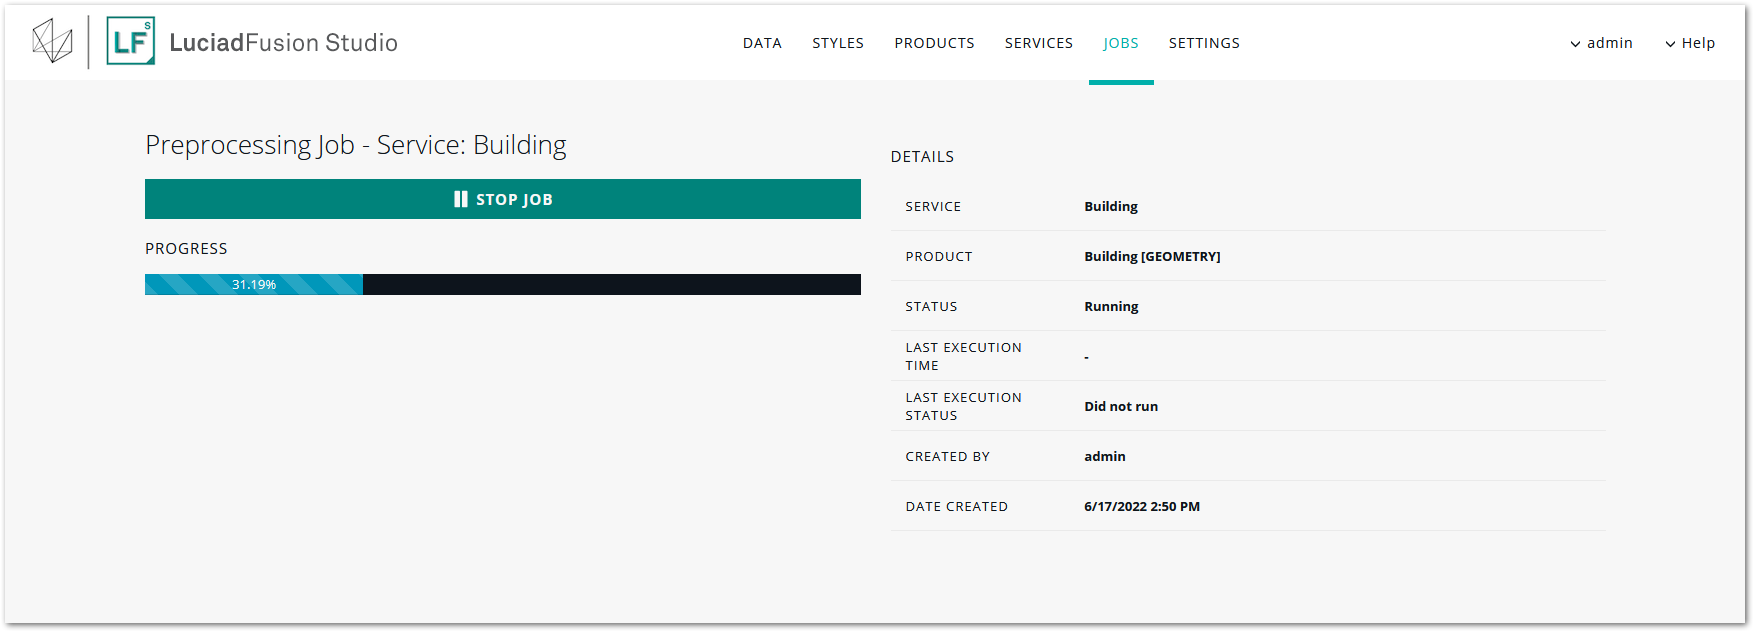
The pre-processing may take a while if you loaded a large data set. To track the status of the pre-processing job, you can go to the JOBS screen. It shows the running pre-processing job in the lower half of the screen. You can click the job entry for more details.
The job runs on your LuciadFusion Studio machine and can be quite resource-intensive. You can pause and resume it if necessary.
As soon as the pre-processing job is done, the OGC3DTILES service status switches from PENDING to RUNNING. In the preview window, you again see a hatched shape at the location of the data set.
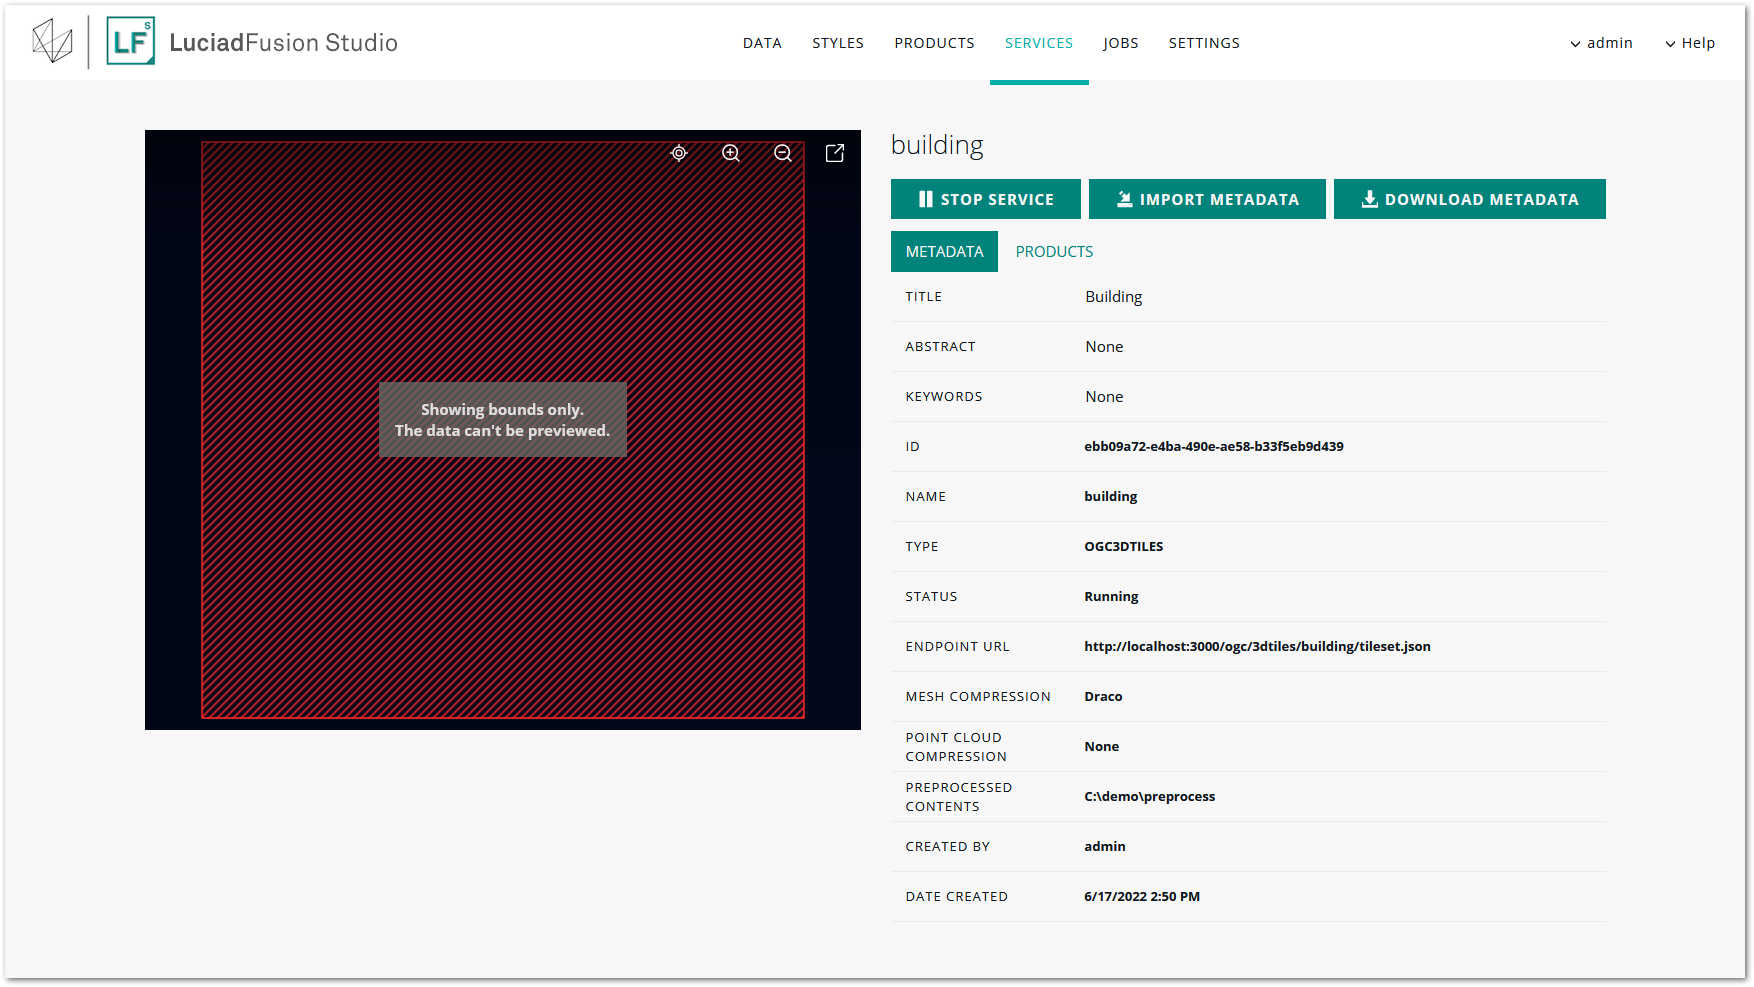
The details screen of the service also lists the ENDPOINT URL that you need in a client application such as LuciadRIA. See Connecting to the BIM services with LuciadRIA.
Setting up a WFS service
An OGC Web Feature Service (WFS) service can serve information on features. For more information, refer to the WFS service documentation.
To create the WFS service:
-
Select the
[FEATURES]data set on the DATA screen. -
Click CREATE SERVICE.
-
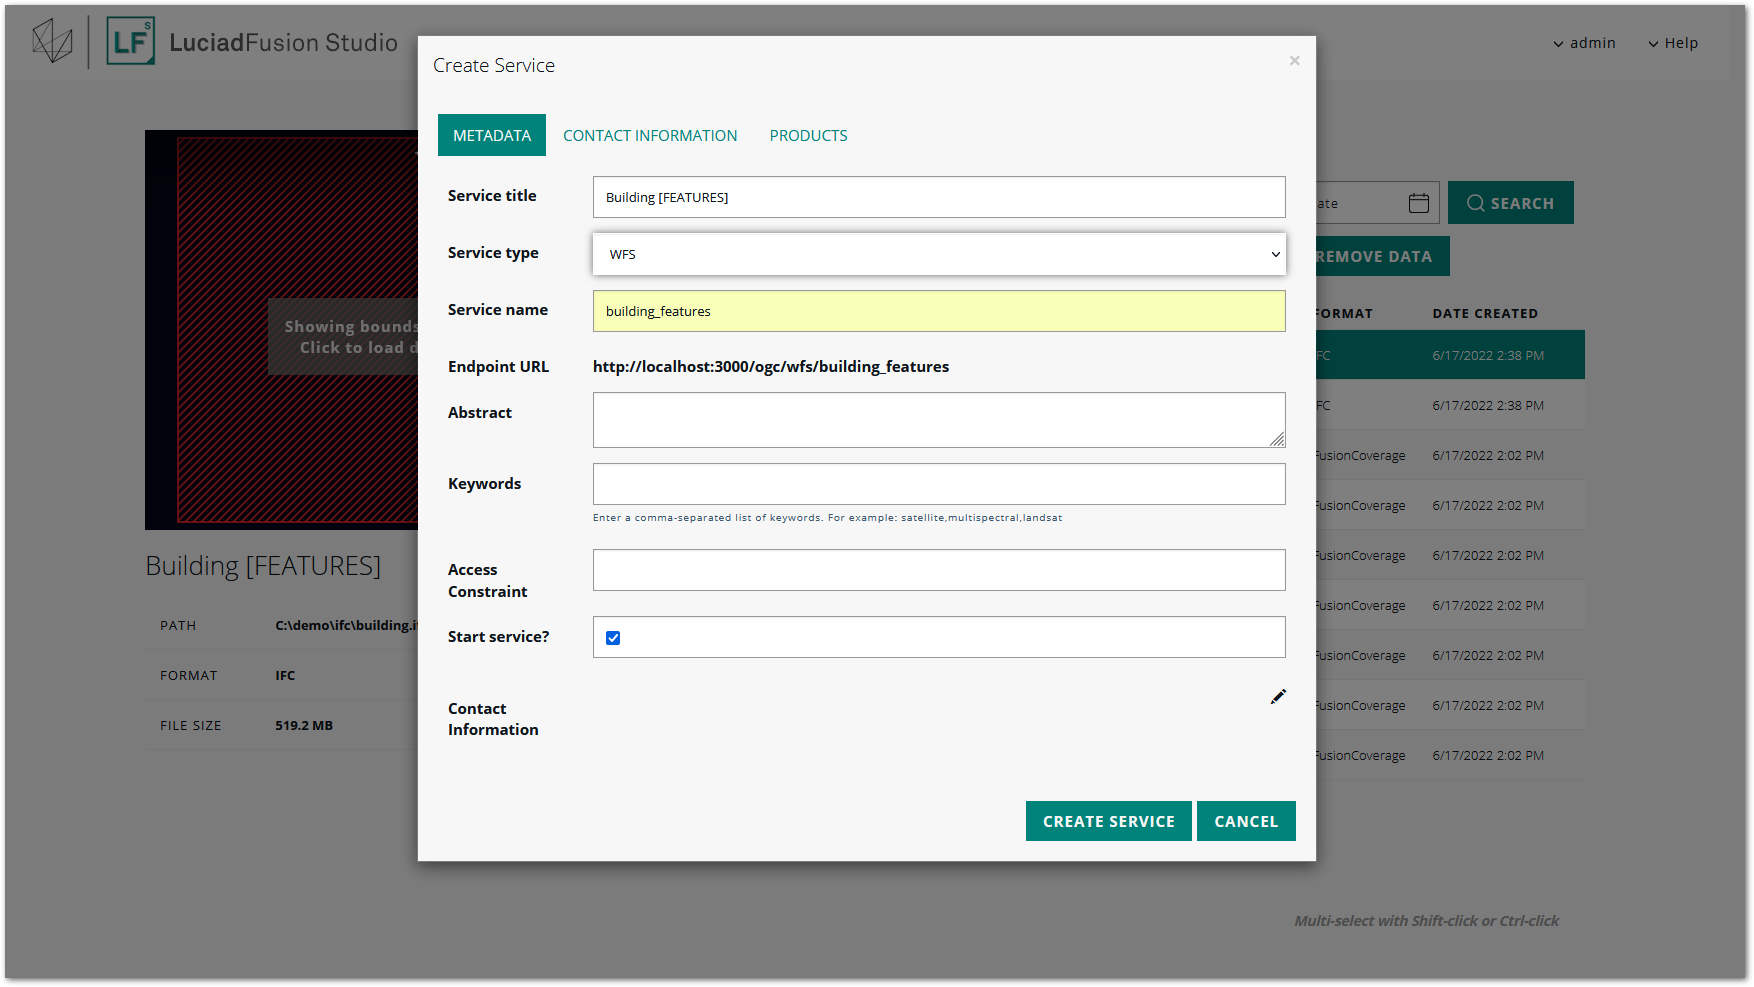
Enter a service title and name in the Create service dialog, and select the WFS service type.
-
Leave the Start service? check box selected, and click CREATE SERVICE.
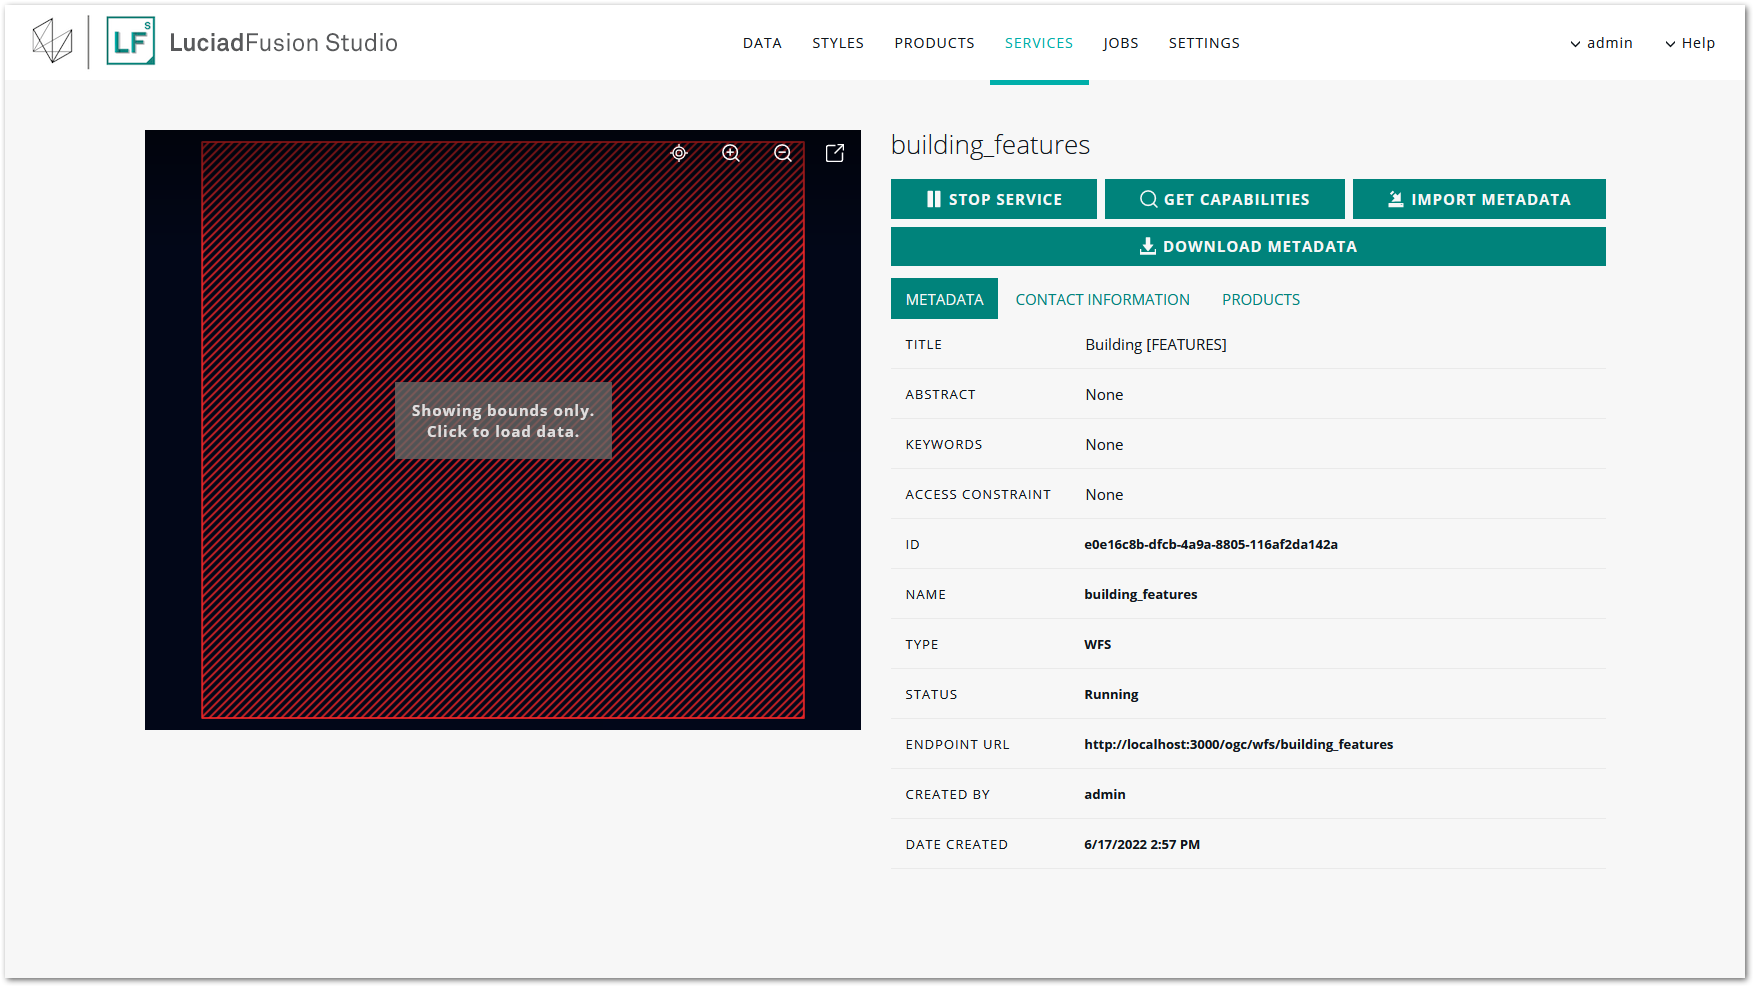
The SERVICES page lists the newly created service. Click on the service to open the details screen. Here, you find the ENDPOINT URL that you need in a client application such as LuciadRIA. See Connecting to the BIM services with LuciadRIA.
Connecting to the BIM services with LuciadRIA
You are now ready to use the data in client applications, such as LuciadRIA applications.
You need the endpoint URLs of both services. You can find them in the details screens of the services, as explained in Setting up an OGC3DTILES service and Setting up a WFS service.
See the LuciadRIA documentation on handling BIM data for detailed information about working with BIM data. You can use these snippets for getting started:
Create a layer for the OGC 3D Tiles service
TileSet3DLayerconst tilesetUrl = "https://fusionurl/ogc/3dtiles/building/tileset.json";
const model: OGC3DTilesModel = await OGC3DTilesModel.create(tilesetUrl);
const ogc3dTilesLayer = new TileSet3DLayer(model, {
idProperty: "FeatureID",
selectable: true
});
map.layerTree.addChild(ogc3dTilesLayer);Create a feature store for the WFS service
WFSFeatureStoreconst featuresUrl = "https://fusionurl/ogc/wfs/building_features";
const wfsCapabilities = await WFSCapabilities.fromURL(featuresUrl);
const typeName = wfsCapabilities.featureTypes[0].name;
const featureStore = WFSFeatureStore.createFromCapabilities(wfsCapabilities, typeName, {outputFormat: "json"});