What is a secure context?
A secure context is a browsing context that meets certain minimum browser security requirements.
In modern browsers, your site can access powerful APIs only if you load it in a secure context (window.isSecureContext).
If you don’t load your site in a secure context, those APIs are unavailable or partially degraded.
When is a browser context considered secure?
A browsing context is considered secure when its document is loaded securely. A document is loaded securely in these cases:
-
The document is loaded over HTTPS.
-
The document is loaded from
localhost.
|
If your application runs in an |
Why does LuciadRIA require a secure context?
LuciadRIA uses WebGPU for hardware-accelerated rendering. Browsers restrict usage of the WebGPU API to secure contexts.
Running your application in a secure context
To run your web application in a secure context, you can choose to:
-
Serve your application over HTTPS, mostly relevant for deployment.
-
Serve your application from
localhost, typically relevant for local development only.
Secure the browsing context for local development
When you’re developing locally, the easiest way to secure the browsing context is to serve your application from localhost.
This is also the default configuration of the LuciadRIA sampleserver in the release,
as well as the webpack-dev-server used for development in LuciadRIA samples.
If you want to access your application from a different host name, you can set up HTTPS for local development.
Secure the browsing context for deployment
When deploying your application, you must serve it over HTTPS. You typically need to obtain a certificate, which your organization may already have, and configure your server to use it. An alternative is running your server behind a reverse proxy that handles HTTPS.
Checking if your application is running in a secure context
You can verify that your application is running in a secure context by checking the value of window.isSecureContext in your browser’s developer console.
If it returns true, your application is running in a secure context.
If it returns false, your application isn’t running in a secure context.
if (!window.isSecureContext) {
  console.warn("Not a secure context. WebGPU unavailable.");
}
if (!("gpu" in navigator)) {
  console.info("WebGPU not supported or not enabled.");
}
Setting up HTTPS for local development
To set up HTTPS for local development, you need to:
-
(Optional) Trust the self-signed certificate in your browser to prevent warnings about untrusted certificates.
|
Your organization may already have a trusted certificate that you can use for local development. In that case, you can skip the first step, and use a certificate issued by your organization instead of a self-signed certificate. |
Generate a self-signed certificate for localhost
To generate a private key and self-signed certificate for localhost in a simple way:
-
Create a
localhost.cnffile with this content:[dn] CN=localhost [req] distinguished_name = dn [EXT] subjectAltName=DNS:localhost keyUsage=digitalSignature extendedKeyUsage=serverAuth -
Run this
opensslcommand to generate a private key and self-signed certificate forlocalhost:openssl req -x509 -out localhost.crt -keyout localhost.key \ -newkey rsa:2048 -nodes -sha256 \ -days 365 \ -subj "/CN=localhost" -extensions EXT -config localhost.cnf
The result is a generated private key in localhost.key and a self-signed certificate in localhost.crt.
The certificate is valid for 365 days.
You can now configure your local web server with localhost.crt and localhost.key, and trust localhost.crt in your browser.
|
If you’re using a different host name, you must generate a certificate for that host name instead.
For example, if you’re using |
Configure a local web server for HTTPS
You must configure your local web server to use the self-signed certificate and private key you generated in Generate a self-signed certificate for localhost. The configuration depends on the web server you’re using.
Configure the LuciadRIA samples webpack-dev-server for HTTPS
If you’re using the webpack-dev-server that comes with the LuciadRIA samples, you can run it with HTTPS by adding the --server-type=https argument to the npm run dev command.
You can also specify the paths to your certificate and key with the --server-options-cert and --server-options-key arguments.
npm run dev -- --server-type=https --server-options-cert=path/to/localhost.crt --server-options-key=path/to/localhost.keyIf you don’t specify these arguments, the server generates a new self-signed certificate.
|
Use the It’s also recommended to use command line tool arguments instead of modifying the |
You can also modify the webpack.config.js file of your sample to always use HTTPS.
To do so, add the following to the devServer configuration of your webpack.config.js file:
server: {
  type: 'https',
  key: "path/to/localhost.key",
  cert: "path/to/localhost.crt",
}
Consult the webpack devServer.server documentation for more information.
Configure the LuciadRIA sample server for HTTPS
To enable HTTPS on the LuciadRIA sample server, you must create a keystore containing your self-signed certificate and private
key.
You can do so with this openssl command:
openssl pkcs12 -export -in localhost.crt -inkey localhost.key -out localhost.p12 -name localhostThen, you must set these environment variables to enable HTTPS in the sample server:
-
RIA_SAMPLE_SERVER_HTTPS=trueTo enable HTTPS, defaults to false. -
RIA_SAMPLE_SERVER_KEYSTORE=path/to/localhost.p12Required for HTTPS, the path to the keystore file you created. -
RIA_SAMPLE_SERVER_KEYSTORE_PASSWORD=<password you used when creating the keystore>Required for HTTPS. The password you used when creating the keystore -
RIA_SAMPLE_SERVER_KEYSTORE_TYPE=<keystore type">Optional. The type of the keystore, defaults to"PKCS12". -
RIA_SAMPLE_SERVER_KEYSTORE_ALIAS=<alias>Optional. The name of the certificate in the keystore. The same as the-namevalue in theopensslcommand above, defaults to"localhost".
You can set these variables in the startSampleServer.sh or startSampleServer.bat script.
Alternatively, you can configure them system-wide in your environment, so you don’t have to set them every time you install
a new LuciadRIA release.
|
After enabling HTTPS, make sure to access the sampleserver using |
Trust the self-signed certificate in your browser
To prevent browser warnings about untrusted certificates, you must trust the self-signed certificate in your browser.
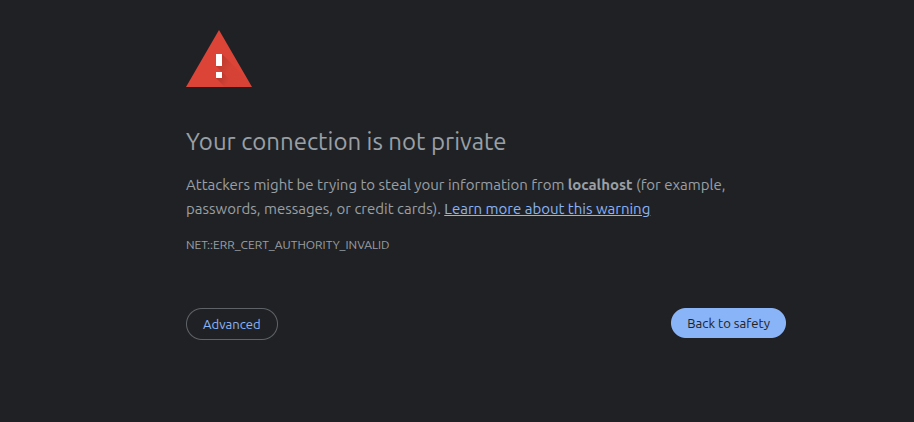
The browser you’re using determines the steps required for trusting self-signed certificates:
Google Chrome
-
Open
chrome://certificate-manager. -
Click
Local certificates. -
Click
Installed by youunderCustom. -
Under
Trusted Certificates, clickImportand select thelocalhost.crtfile you generated earlier.
Mozilla Firefox
-
Make sure that the web server is running with the self-signed certificate.
-
Open
about:preferences#privacyin Firefox. -
Scroll down to
Certificatesand clickView Certificates…. -
In the
Serverstab, clickAdd Exception…. -
Enter the URL of the web server, for example
https://localhost:3001, in theLocationfield and clickGet Certificate. -
Select the
Permanently store this exceptioncheckbox and clickConfirm Security Exception.
Safari
-
Open the
localhost.crtfile you generated earlier. This should open the Keychain app. -
Add the certificate to the
Systemkeychain. -
In the Keychain app, select
Systemin the left sidebar. -
Find the
localhostcertificate in the list on theCertificatestab and double-click it. -
In the certificate details, expand the
Trustsection. -
Set
When using this certificatetoAlways Trust. -
Close the certificate details and enter your password to save the changes.
After trusting the certificate, you can access your application without any warnings.