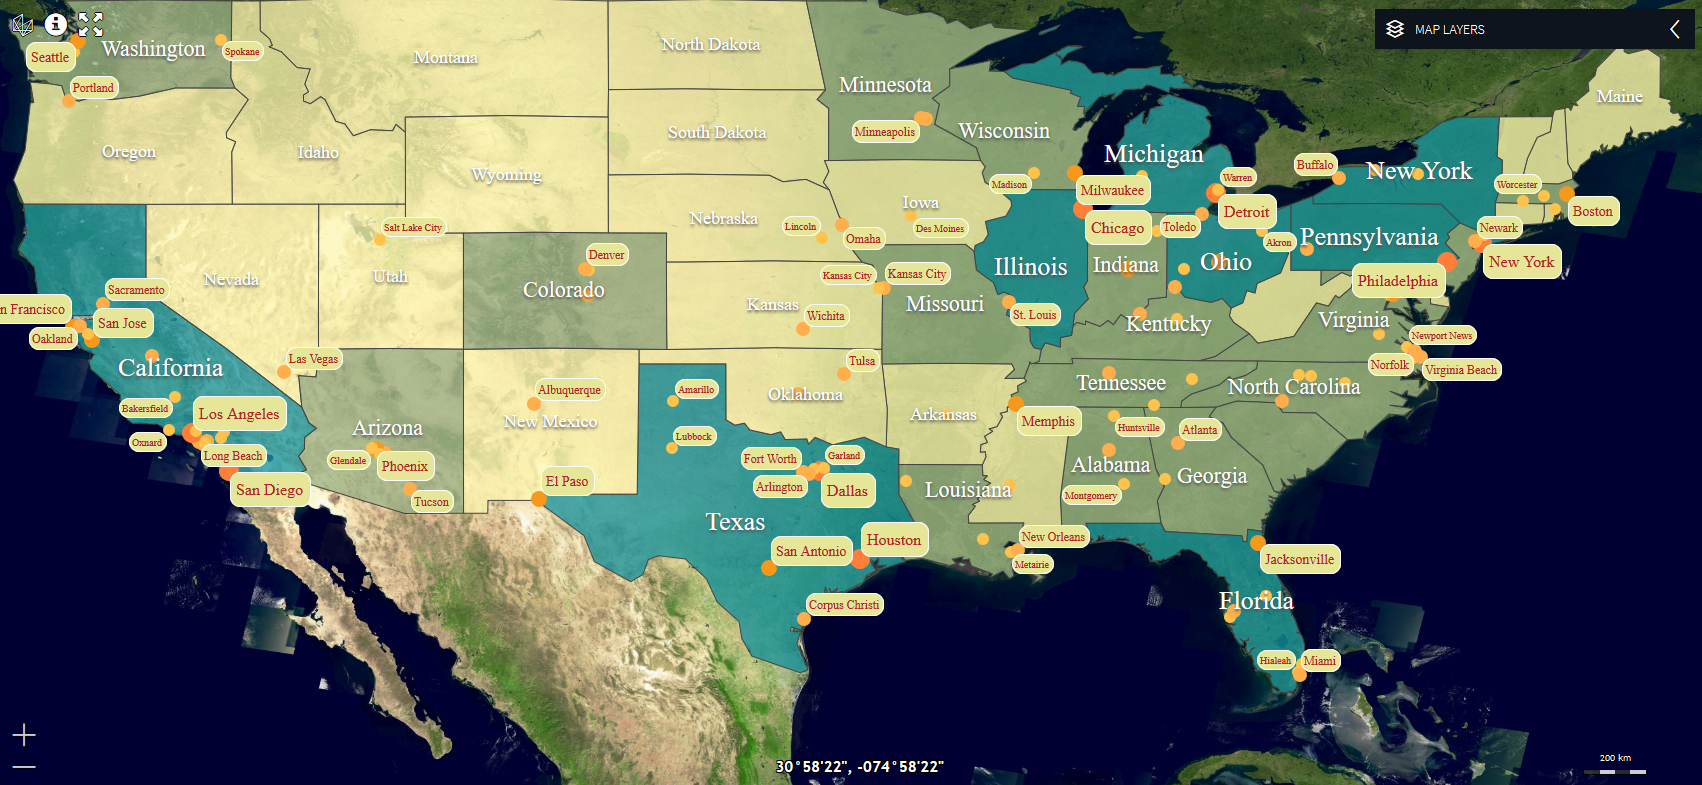
When you are visualizing objects on a map, you may want to show some text with the visualized object. You can use text labels to further describe or classify objects on a map.
You label your feature data by installing a FeaturePainter on a FeatureLayer, and providing it with an implementation of the paintLabel method:
paintLabel(labelCanvas, //The LabelCanvas to render the label on
           feature,     //The Feature for which a label should be rendered
           shape,       //The Shape of the Feature
           layer,       //The layer containing the feature
           map,         //The map containing the layer
           paintState   //The paint state, indicating whether the Feature is selected or not
)
In this method, you have full control over how you want to render the label, and what styling you want to use. This is an example of a straightforward implementation:
featurePainter.paintLabel = function(labelCanvas, feature, shape, layer, map, paintState) {
  const cityName = (feature.properties as any).CITY;
  labelCanvas.drawLabel(cityName, shape, {
    positions: PointLabelPosition.NORTH
  });
}
The LabelCanvas supports labels for points, polylines, and polygons.
LuciadRIA also comes with built-in support for decluttered text labeling. Label decluttering prevents label overlap that makes the label text unreadable.
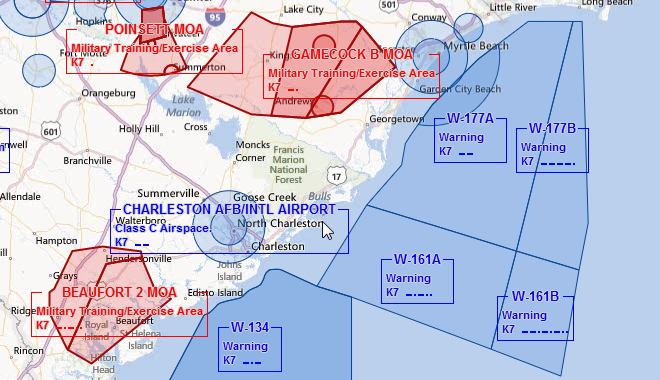
Configuring the contents and style of labels using HTML and CSS
You configure the contents and style of a label with a text string that holds a combination of HTML and CSS.
With HTML, you can define the structure and contents of your label:
for example, use HTML to create labels with several lines, or embed image resources using an image tag.
samples/verticalview/painters/AirspacePainter.ts)
const labelTemplate =
    '<div class="airspace-label-wrapper">' +
    '<div class="airspace-label %colorclass%">' +
    '<div class="theader">' +
    '<div class="left-tick %colortickclass%"></div>' +
    '<div class="right-tick %colortickclass%"></div>' +
    '<div class="icao">%Icao%</div>' +
    '</div>' +
    '<div class="type">%Type%</div>' +
    '<div class="name"><div style="display: inline-block">%Name%  </div>' +
    '</div>' +
    '</div>';
Use CSS style rules to specify the styling properties of the label, like its text color, fonts, or border sizes.
It’s possible to apply these CSS rules to the entire label, or to small HTML fragments inside the label.
samples/verticalview/painters/AirspacePainter.css)
.airspace-label .type {
  position: relative;
  top: -0.4em;
  padding-left: 4px;
  padding-right: 4px;
  font: bold 11px arial, sans-serif;
  text-shadow: -1px 0 lightgrey, 0 1px lightgrey, 1px 0 lightgrey, 0 -1px lightgrey;
}
|
The dimensions of the label must be immutable. This is important because the size of the label is a factor during label decluttering. For more information about label decluttering, see the How to position labels article. In practice, this means that you shouldn’t change the contents of the label dynamically once the map displays it. For example, you can’t query the DOM for the label and then insert new contents into the label.
If you want the contents of the label to change over the life time of the application, you must signal such a change by calling
the Another consequence is that, if the label has content with variable dimensions like an image tag, you should define the width and height of the image as absolute values, in pixels. |