You want to create a dimming effect for a Lightspeed view. Starting from such a dimming effect, you can let a user control the brightness of the view through the user interface, for instance.
How to do it?
You have two options for obtaining a dimming effect in your Lightspeed view:
-
Option 1: Use OpenGL calls to draw a transparent rectangle in a post-render step
-
Option 2: Create a transparent black layer that covers the entire view. Using such a layer has the benefit that you can selectively darken layers: the layers inserted below the dimming layer in the layer stack will be dimmed, while the layers inserted above the dimming layer in the stack will retain their normal brightness.
|
You can also control the brightness of raster layers through |
Option 1: draw rectangle as post-render step
You can draw a transparent rectangle over a Lightspeed view by adding an ILspViewListener to the view. In the postRender() method, you need to implement the drawing of the transparent rectangle. To do so, set both the ModelView and Projection matrices
to the identity matrix. As a result, you can easily draw a quad that covers the whole view. By selecting a transparent color,
you obtain the desired dimming effect.
view.addViewListener(new ALspViewAdapter() {
      private float fOpacity = 0.4f;
      @Override
      public void postRender(ILspView aView, ILcdGLDrawable aGLDrawable) {
        ILcdGL gl = aGLDrawable.getGL();
        //Store the current state of the matrices and set them to identity
        gl.glMatrixMode(ILcdGL.GL_MODELVIEW);
        gl.glPushMatrix();
        gl.glLoadIdentity();
        gl.glMatrixMode(ILcdGL.GL_PROJECTION);
        gl.glPushMatrix();
        gl.glLoadIdentity();

        //Set the color to transparent black
        gl.glColor4f(0.0f, 0.0f, 0.0f, fOpacity);

        //Draw a quad covering the whole view
        gl.glBegin(ILcdGL.GL_QUADS);
        gl.glVertex3i(-1, -1, -1);
        gl.glVertex3i(1, -1, -1);
        gl.glVertex3i(1, 1, -1);
        gl.glVertex3i(-1, 1, -1);
        gl.glEnd();

        //Restore the matrices to their original state
        gl.glPopMatrix();
        gl.glMatrixMode(ILcdGL.GL_MODELVIEW);
        gl.glPopMatrix();
      }
});
Option 2: create a dimming layer
-
Create a model that contains a shape equal to the size of your screen, by using
TLcdXYBoundsfor example. Because the coordinates of the shape need to be interpreted as view coordinates, you must create a model without a georeference.final ILspAWTView view = getView(); final ILcdModel model = new TLcdVectorModel(null, new TLcdModelDescriptor("", "", "Dim layer")); Dimension screenSize = Toolkit.getDefaultToolkit().getScreenSize(); double width = screenSize.getWidth(); double height = screenSize.getHeight(); final ILcd2DEditableBounds screenBounds = new TLcdXYBounds(0, 0, width, height); model.addElement(screenBounds, ILcdModel.NO_EVENT); -
Create a layer with a fill style for the model, and configure the opacity of the fill style.
ILspStyler fillStyle = TLspFillStyle.newBuilder().color(Color.BLACK).opacity(0.2f).build();
ILspLayer layer = TLspShapeLayerBuilder.newBuilder()
                                       .model(model)
                                       .selectable(false)
                                       .bodyStyler(TLspPaintState.REGULAR, fillStyle).build();
view.addLayer(layer);
If you want to control the opacity of the layer dynamically, wrap the fill style in a custom
ALspStyler.private static class DimStyler extends ALspStyler { private TLspFillStyle fFillStyle = TLspFillStyle.newBuilder().color(Color.BLACK).opacity(0.2f).build(); @Override public void style(Collection<?> aObjects, ALspStyleCollector aStyleCollector, TLspContext aContext) { aStyleCollector.objects(aObjects) .styles(fFillStyle) .submit(); } public void setOpacity(float aOpacity) { fFillStyle = TLspFillStyle.newBuilder().color(Color.BLACK).opacity(aOpacity).build(); fireStyleChangeEvent(); } } -
As an optional step, add a listener to the view to adjust the size of the
TLcdXYBoundswhen the view is resized. You only need to do so if the initially chosen size of theTLcddXYBoundsis smaller than the potential size of the view.view.getHostComponent().addComponentListener(new ComponentAdapter() { @Override public void componentResized(ComponentEvent e) { screenBounds.setWidth(view.getWidth()); screenBounds.setHeight(view.getHeight()); model.elementChanged(screenBounds, ILcdModel.FIRE_NOW); } });
Result
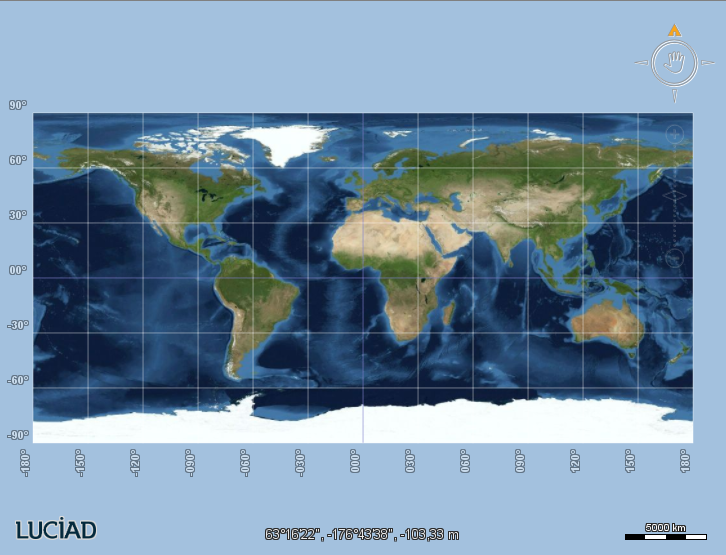
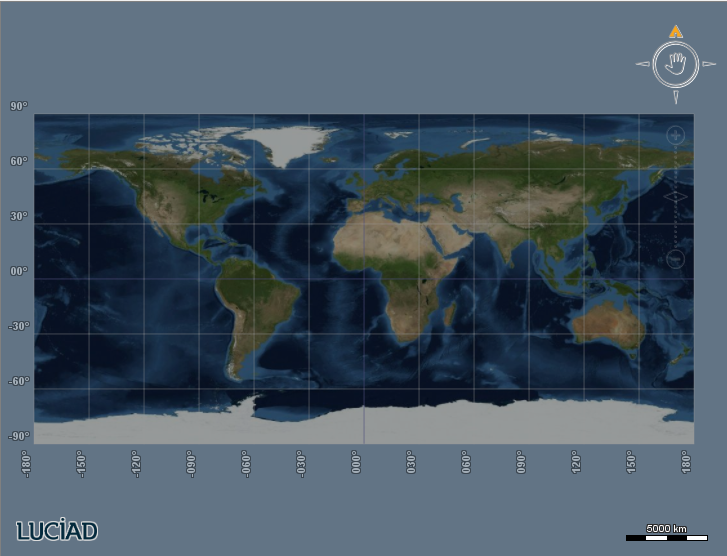
|
The dimming effect does not apply to overlay components, such as the navigation controls or the scale indicator. |
To learn about adding other graphical effects to the view, see Adding graphical effects to a Lightspeed view.